


Install WordPress with Docker Compose


What Are Docker and Docker Compose?
Docker is a system that provides pre-configured, self-contained applications, frameworks, and software stacks, such as WordPress, Golang, or LAMP. Even entire Linux distributions can be run in Docker. When deployed, these software packages are referred to as containers. Docker also allows you to create your own containers that include any custom software you’d like.
Docker Compose is a complementary system which helps you link together individual Docker containers so they can work together. This guide walks through the deployment of a WordPress container and another MySQL container that WordPress will use to store its data. Docker Compose will facilitate the networking between them.
Containers for WordPress and MySQL are available from Docker Hub in the form of images. A Docker image is a static snapshot of a container which is used to create new container instances. Docker Hub is an official repository where individuals and organizations can upload Docker images for public consumption.
Why Use Docker to Run WordPress?
The WordPress and MySQL images are maintained on Docker Hub by their respective organizations, and using them offers the following benefits:
- The configuration of the software has been done for you, which means that you don’t need to follow a step-by-step process for each application to get them running on your system.
- Updating your software is as simple as downloading the latest images from Docker Hub.
- Images and containers are self-contained, which means that they are easy to clean up if you decide to remove them.
Installation
Install Docker
To install Docker CE (Community Edition), follow the instructions within one of the guides below:
For complete instructions on even more Linux distributions, reference the Install Docker Engine section of Docker’s official documentation.
Install Docker Compose
Download the latest version of Docker Compose. Check the releases page and replace
1.25.4in the command below with the version tagged as Latest release:sudo curl -L https://github.com/docker/compose/releases/download/1.25.4/docker-compose-`uname -s`-`uname -m` -o /usr/local/bin/docker-composeSet file permissions:
sudo chmod +x /usr/local/bin/docker-compose
Set Up WordPress
Create a new directory in your home folder called
my_wordpressandcdinto it:mkdir ~/my_wordpress/ cd ~/my_wordpress/Create a file named
docker-compose.ymlin this folder and add the following contents. Set your own passwords for theWORDPRESS_DB_PASSWORD,MYSQL_ROOT_PASSWORD, andMYSQL_PASSWORDenvironment options. The password entered forWORDPRESS_DB_PASSWORDandMYSQL_PASSWORDshould be the same.- File: docker-compose.yml
1 2 3 4 5 6 7 8 9 10 11 12 13 14 15 16 17 18 19 20 21 22 23 24 25 26 27 28 29 30version: '3.3' services: wordpress: depends_on: - db image: wordpress:latest volumes: - wordpress_files:/var/www/html ports: - "80:80" restart: always environment: WORDPRESS_DB_HOST: db:3306 WORDPRESS_DB_USER: wordpress WORDPRESS_DB_PASSWORD: my_wordpress_db_password db: image: mysql:5.7 volumes: - db_data:/var/lib/mysql restart: always environment: MYSQL_ROOT_PASSWORD: my_db_root_password MYSQL_DATABASE: wordpress MYSQL_USER: wordpress MYSQL_PASSWORD: my_wordpress_db_password volumes: wordpress_files: db_data:
From the
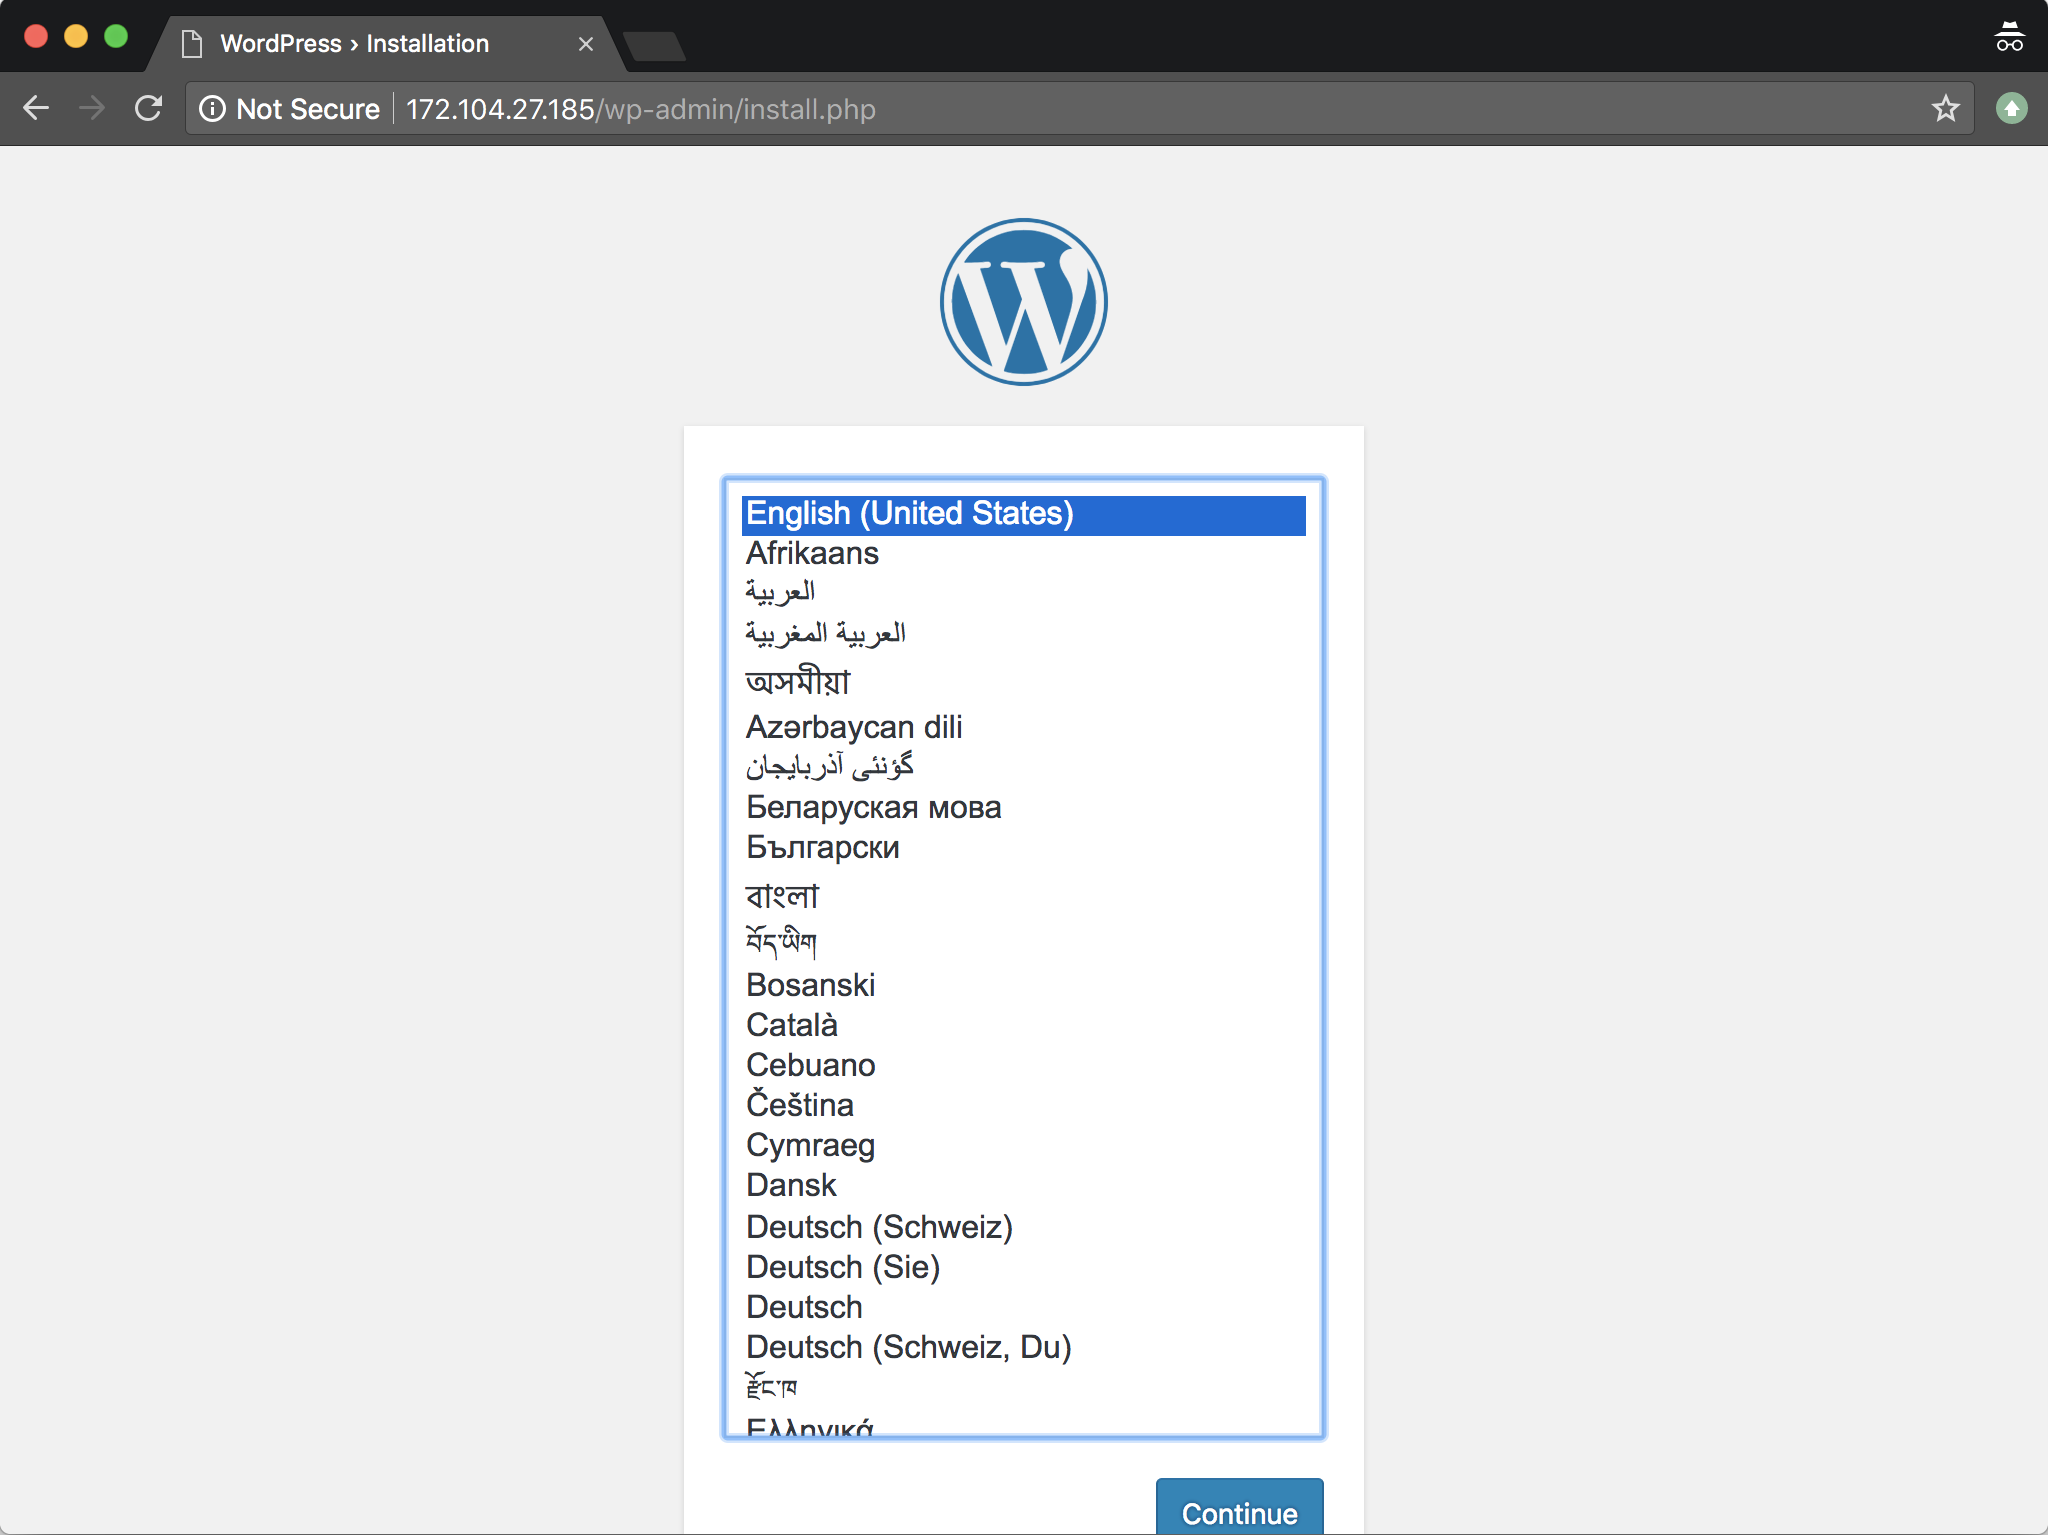
my_wordpressdirectory, start your Docker containers:docker-compose up -dThe Docker containers will take a minute or two to start up WordPress and MySQL. Afterwards, you can visit your Linode’s IP address in your web browser and you should be directed to the WordPress setup form.


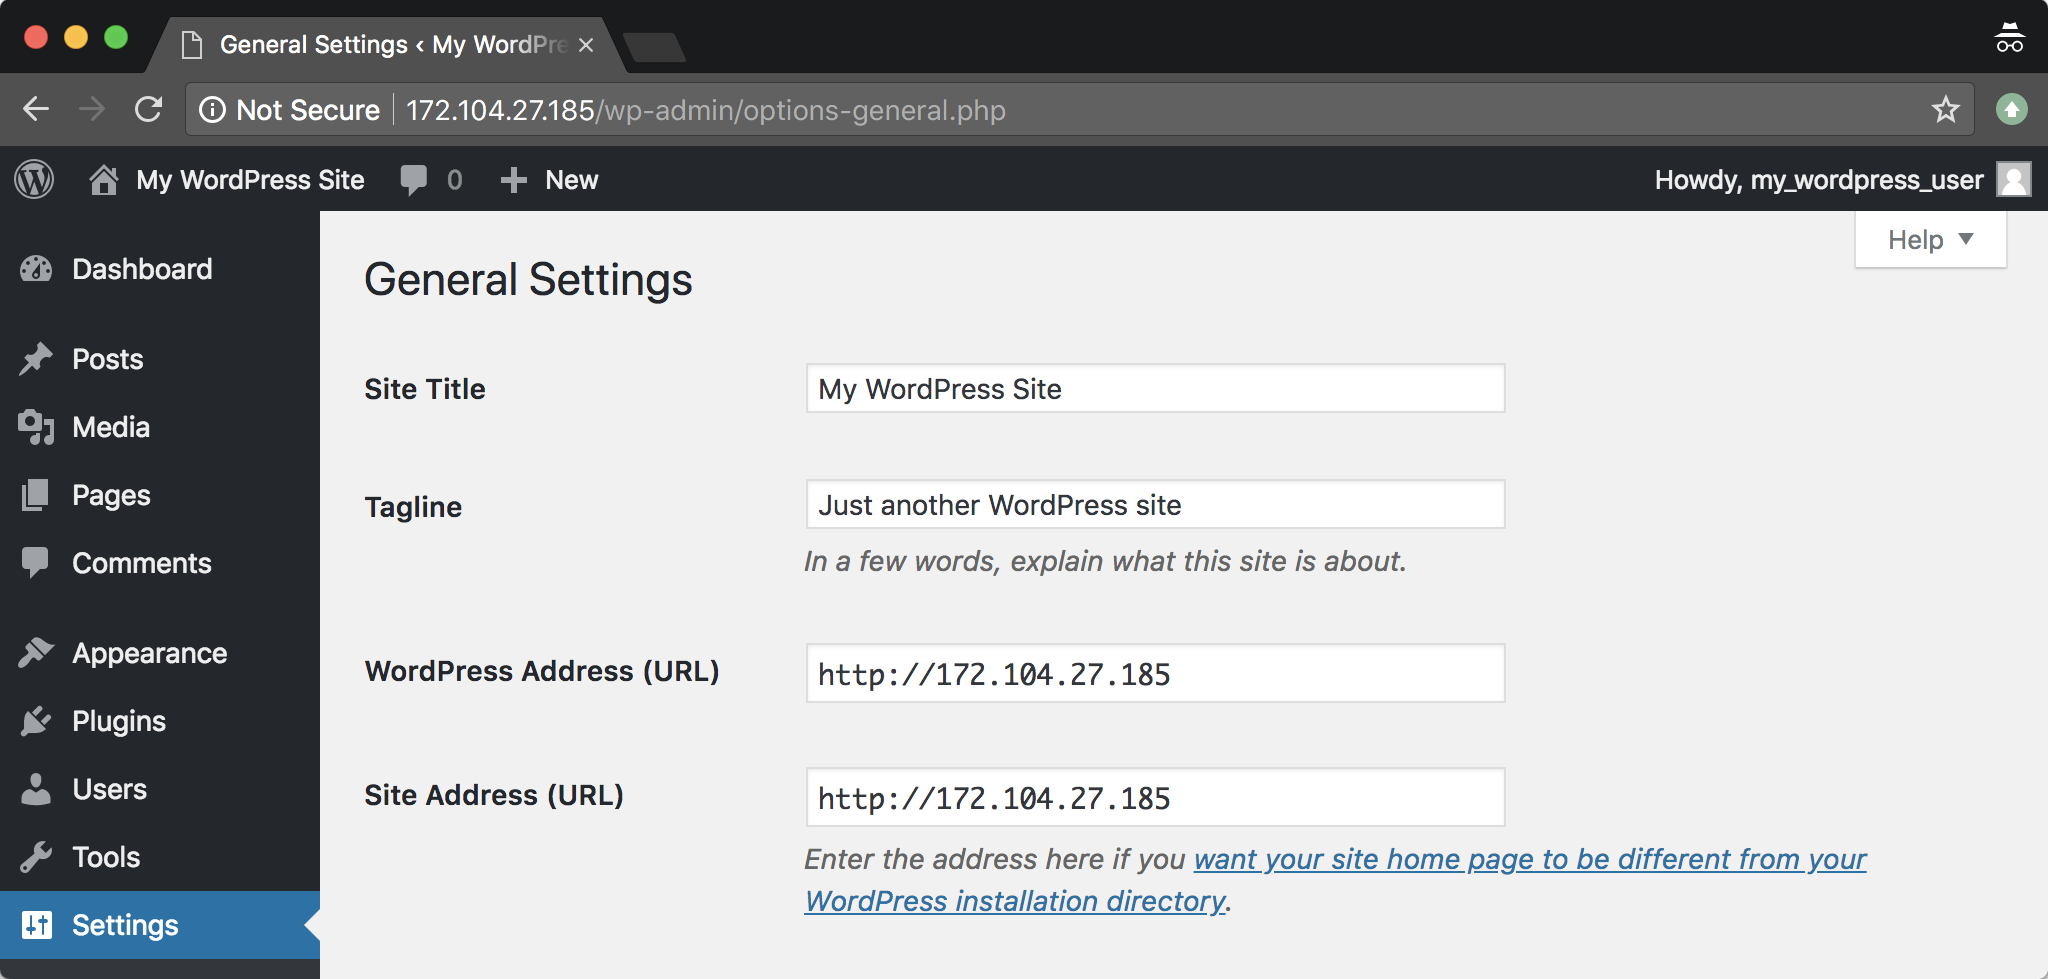
You can optionally set up a domain for your WordPress site. Our DNS Manager Overview guide includes instructions for associating your domain with your Linode’s IP address.
Once you set up your DNS records, you should also replace your IP address with your domain in the WordPress Settings screen:


Usage and Maintenance
You do not need to manually start your containers if you reboot your Linode, because the option restart: always was assigned to your services in your docker-compose.yml file. This option tells Docker Compose to automatically start your services when the server boots.
To stop your WordPress application:
cd ~/my_wordpress/
docker-compose down
When a Docker container is stopped, it is also deleted; this is how Docker is designed to work. However, your WordPress files and data will be preserved, as the docker-compose.yml file was configured to create persistent named volumes for that data.
If you want to remove this data and start over with your WordPress site, you can add the --volumes flag to the previous command. This will permanently delete the WordPress posts and customizations you’ve made so far.
docker-compose down --volumes
Update WordPress
The docker-compose.yml specifies the latest version of the WordPress image, so it’s easy to update your WordPress version:
docker-compose down
docker-compose pull && docker-compose up -d
Next Steps
More extensive documentation on Docker is available in the Containers section of the Linode Guides & Tutorials site.
More Information
You may wish to consult the following resources for additional information on this topic. While these are provided in the hope that they will be useful, please note that we cannot vouch for the accuracy or timeliness of externally hosted materials.
This page was originally published on